How to Build a Modern Metal Console Table (Step-by-Step Guide)
A DIY metal console table can instantly transform an entryway or living room. It’s clean, strong, and customizable, which makes it perfect for almost any space. You get modern metal furniture that actually works for your room—without the hefty price tag. Even if you’ve never handled steel before, this is a project you can pull off with simple tools and a bit of time. A DIY metal console table lets you build something practical and stylish that actually reflects your taste, not just what’s sold in stores.

Why Build Your Own Metal Console Table?
Building your own table lets you ditch the generic and aim for something personal. You get the size, shape, and finish that fits your home—not whatever’s trending in mass-produced furniture. The big bonus? It usually costs less than half of what you’d spend at a store. A DIY metal console table doesn’t just save money. It gives you something solid and unique that feels like a real part of your home.
With most store-bought tables, you’re limited to basic styles, weak particleboard, and one-size-fits-all designs. Want a metal frame with character? Good luck. Doing it yourself means picking out high-quality steel, matching it with wood or glass, and building something that actually holds up. From industrial home decor to sleek modern metal furniture, it’s all about creating a piece you’ll want to keep forever.
Here’s why making one might be the better option:
- You can choose custom dimensions.
- You’ll use real steel and hardwood instead of MDF.
- The design fits your interior—not the other way around.
Choosing the Right Metal and Finish
The backbone of any console table is the frame, and that starts with picking the right metal. Most people go with square or rectangular steel tubing. It’s strong, simple to cut, and welds easily. You’ll want 1” to 2” thick tubing, depending on how chunky you want the base to look. Cold-rolled steel is smooth and clean, hot-rolled is rougher but cheaper, and aluminum is light but less sturdy. Add a clear coat if you like the raw look, or powder-coat it black for a bold modern metal furniture vibe.
If you prefer something with contrast, try a DIY metal base with wood top—it gives warmth and texture without sacrificing that industrial edge. Thinking about outdoor use or humid environments? Go for sealed steel or stainless if you want it to last. These details matter when you’re following your own console table plans and building for specific needs or spaces.
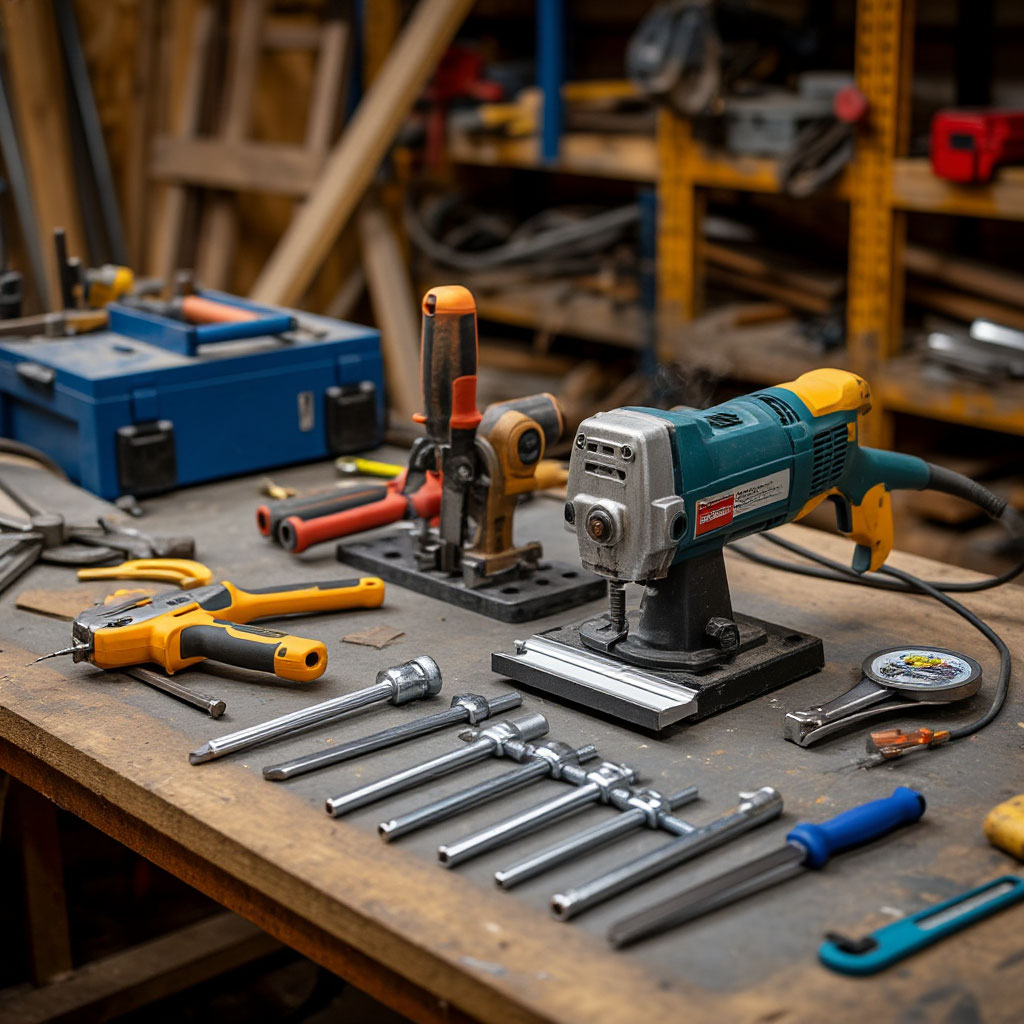
Tools Required for Welding and Assembly
Before anything gets built, you’ll need tools. For cutting and shaping, an angle grinder works great. If you’re learning how to weld a console table, a basic MIG welder does the trick. You’ll also need clamps to hold things still, a square for keeping corners sharp, and safety gear—gloves, goggles, and maybe a welding mask. Bolting your pieces together is a solid option if welding feels too advanced, especially for entry-level builders.
Equipment Overview
| Tool | Purpose |
|---|---|
| Angle grinder | Cutting and smoothing steel |
| MIG welder | Joining steel parts |
| C-clamps | Holding pieces in place |
| Measuring tools | Ensuring accurate cuts |
| Drill + bits | Alternative to welding |
| Safety equipment | Essential for protection |
Even in simple console table plans, accuracy makes a big difference. Stick to the basics and get clean results.
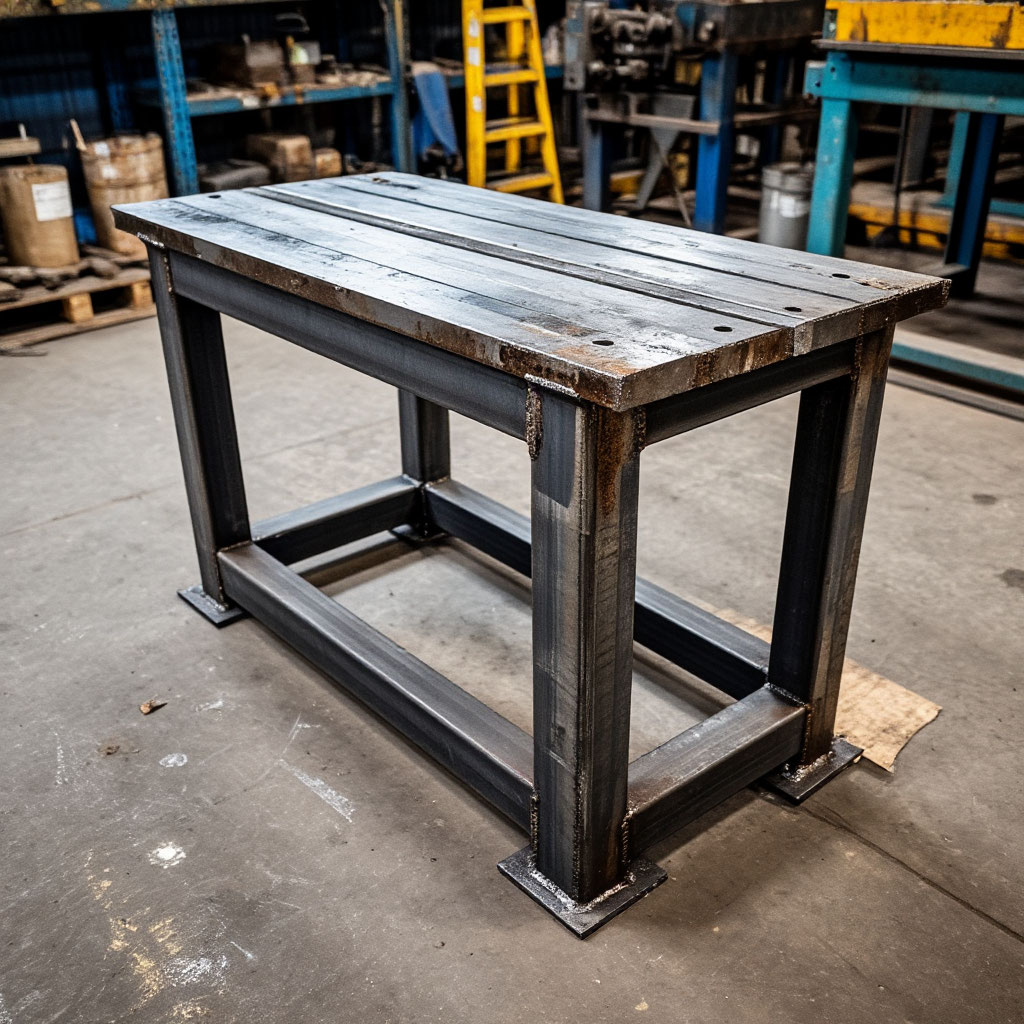
Cutting and Assembling the Metal Frame
Sketch your design and measure carefully. Cut your steel tubing using a miter saw or angle grinder. Label each piece as you go. Clean any sharp edges. This prep makes welding or bolting smoother.
Assemble the legs and supports. If welding, tack corners to hold alignment. Once square, finish welds. For bolt-together builds, drill holes, use corner brackets, and secure with locking nuts. Your DIY metal console table doesn’t need complex joints—it needs stability.
Here’s what to include when assembling:
- Legs and horizontal supports.
- Diagonal braces if extra stability is needed.
- Leveling feet if your floor is uneven.
- Brackets or tabs to attach the tabletop.
Attaching the Tabletop: Wood or Glass
Time to add the surface. Most go with a thick wood slab, at least 1.5 inches. Sand it smooth. Add stain or sealer if needed. Glass works, but needs proper mounting.
To attach the top:
- Use L-brackets or metal tabs.
- Leave space for natural wood movement.
- Countersink screws so the surface stays flush.
A DIY metal base with wood top balances warmth and strength. Or keep it full metal for a bolder modern metal furniture vibe.
Finishing Touches: Painting, Sealing, and Leveling
Once built, clean the frame. Apply a clear coat if you like the raw look, or go with matte black spray paint or powder-coating. Let everything dry before use.
Level the table with adjustable feet or rubber pads. Seal your tabletop to protect against stains. Match your finish to the rest of your industrial home decor. This final step turns your frame into a polished piece.
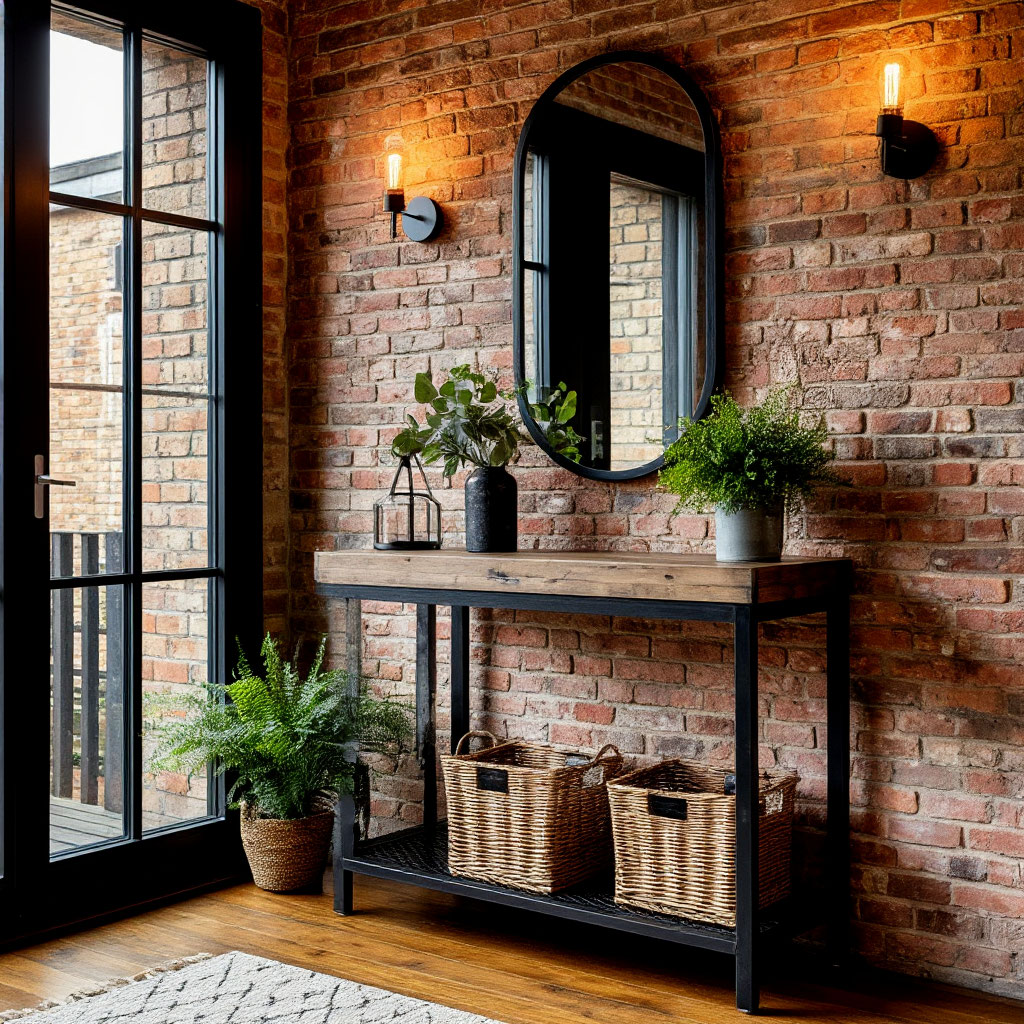
Final Styling and Function Tips
For minimalist entryway furniture use:
- Place a mirror or art piece above.
- Add a small bowl or tray for keys.
- Include baskets underneath for hidden storage.
A DIY metal console table works great on its own or alongside other DIY steel frame furniture. It ties rooms together without overpowering them.
A DIY metal console table is more than a project—it’s a way to make something that’s truly yours. It fits your space, your needs, and your taste. Whether you follow console table plans or make it up as you go, you’ll end up with a durable and eye-catching piece. And every time someone asks where it’s from, you’ll know exactly what to say.

Welding at Home: Beginner Projects for Interior Decor

Easy DIY Metal Wall Art Ideas for Beginners